


FRIDAY SALE! • EXTRA 10% OFF + FREE SHIPPING DEAL | CODE: FRIDAY10
Every multi panel set we make hangs on the same three rules: half an inch between panels, the center panel first, and the center of the whole set at eye height. This page states the rules, draws every layout to scale, and gives you a printed guide for each one with the exact drop of every panel at every size. Print it at actual size, tape it to the wall, and hang once.
Print at 100 Percent. Set the print dialog to actual size, never fit to page. Check the two inch line with a ruler before cutting the spacer strip. The layout drawing on page one is scaled and is not for measuring; the printed dimensions are.
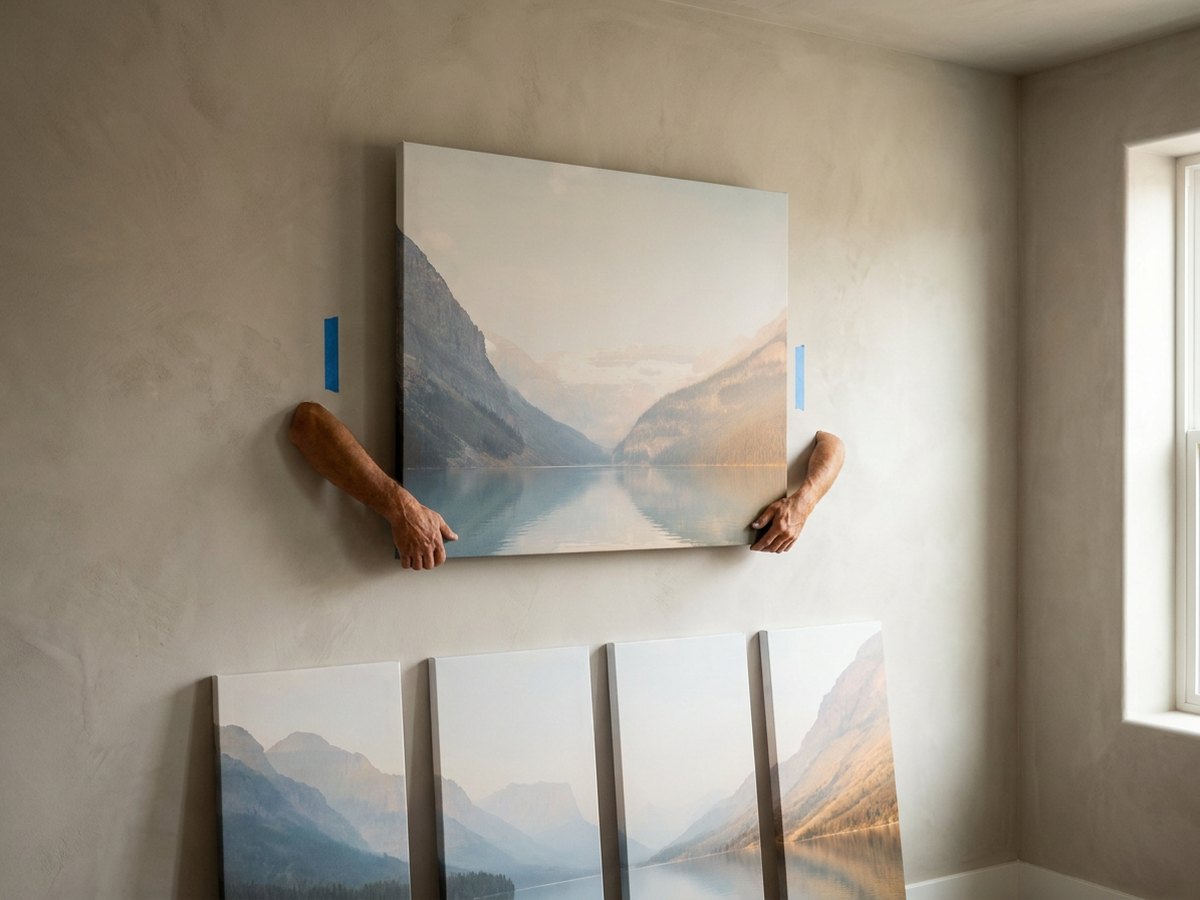
Use the Right Fasteners. Choose hardware rated for the panel weight and the wall type. A screw into a stud is the strongest fixing; drywall between studs needs an anchor. Preview the arrangement with painter's tape before making the final holes.
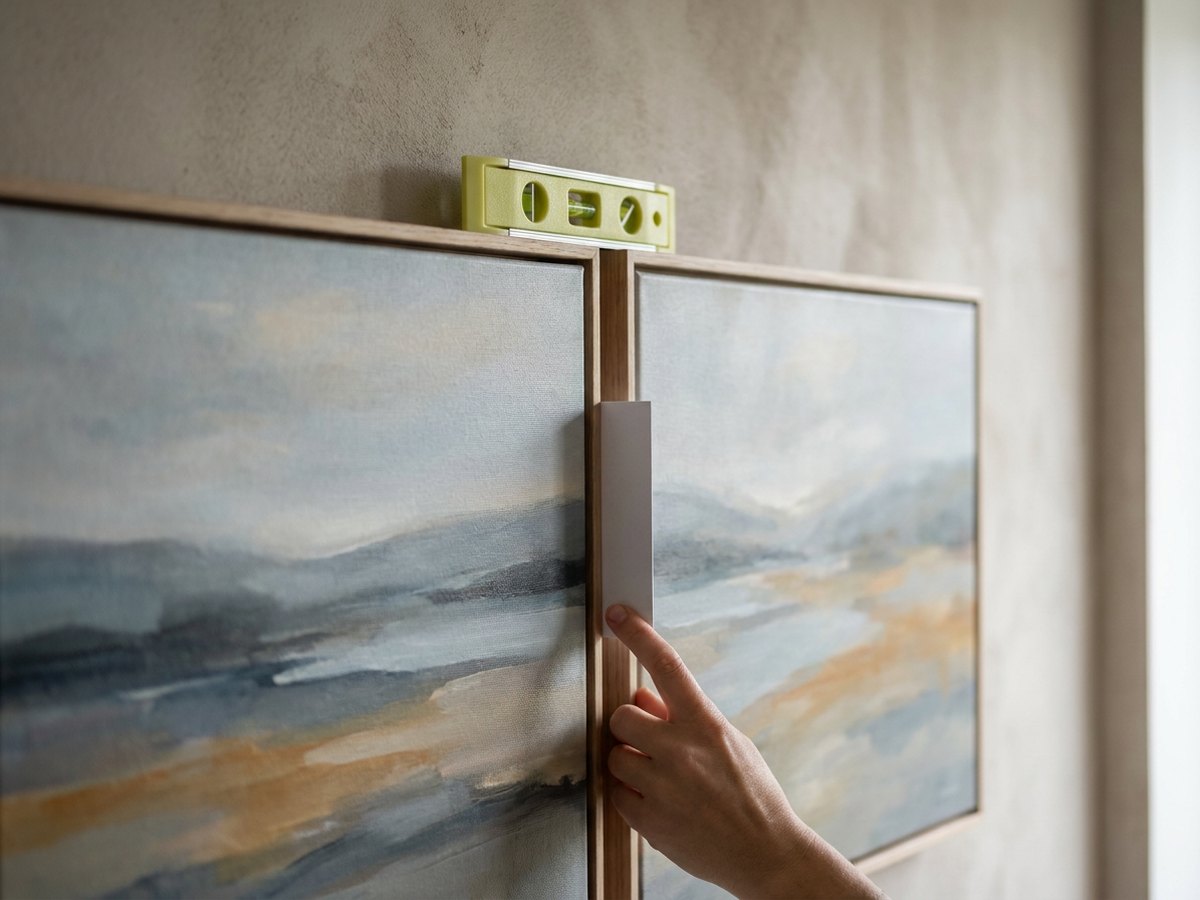
Multi panel canvas sets hang with a half inch gap between panels. That is the gap the overall size is calculated on: a 42 by 21 inch 5 Star set is five 8 inch panels and four half inch gaps. Hang wider and the set grows and the picture stops joining up across the gaps. 4 Square is the one exception, at one inch.
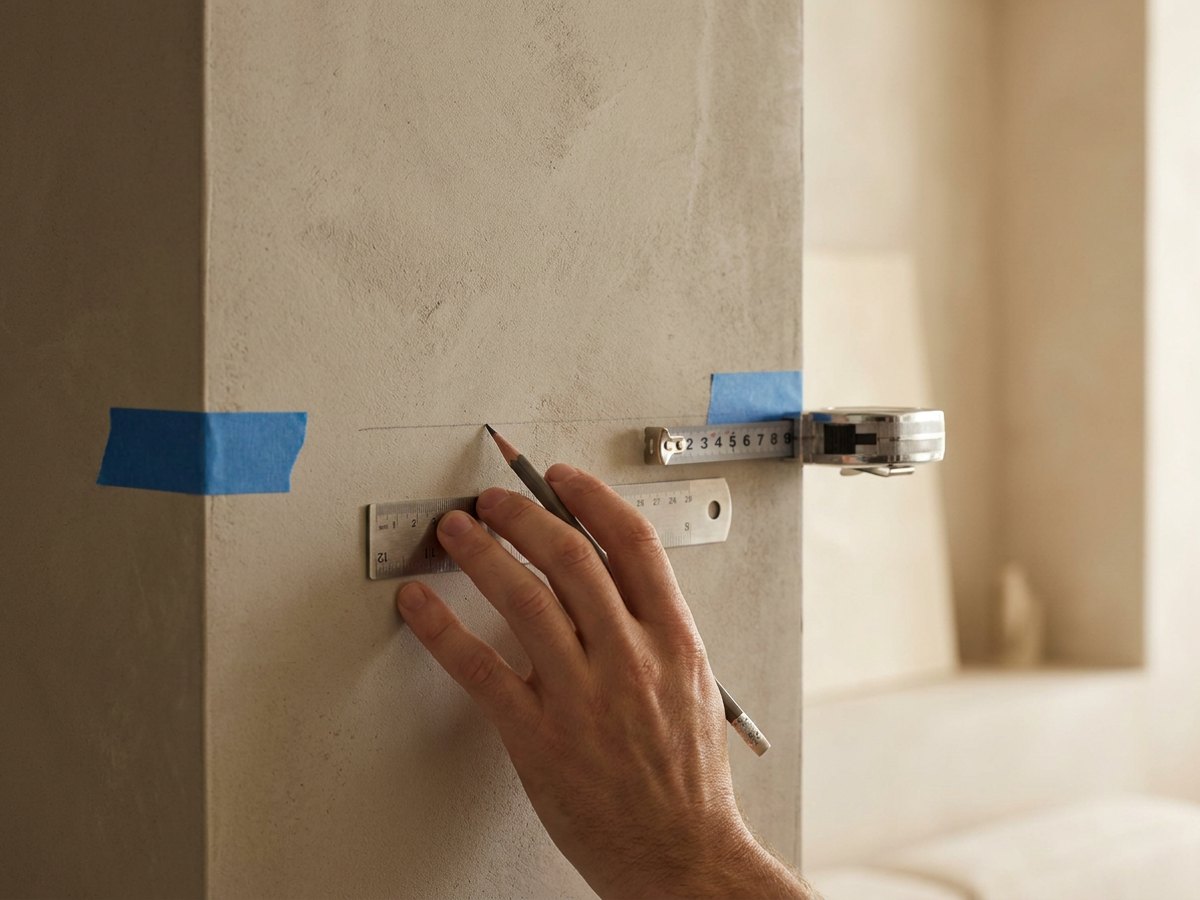
The center of the artwork sits 57 to 60 inches from the floor, which is average eye height for a standing adult and the height galleries hang at. For a multi panel set the center is the center of the whole footprint, not of the tallest panel, so a 5 Star set is measured across all five.
Above a sofa, bed or console, the bottom edge of the art sits 6 to 8 inches above the furniture, and that gap overrides the 57 inch rule. Closer and the piece crowds the furniture; higher and it floats away from it. On a tall headboard the center will land above 60 inches, which is correct.
Hang the middle panel first and work outward in pairs: on a five panel set, panel 3, then 2 and 4, then 1 and 5. On a four panel row, the inner pair, then the outer pair; on 4 Pop, panel 2, then 3, then the outer pair. On 4 Square, the top row, then the bottom row. A fixed center pushes any error to the edges, where it does not show.
Three equal panels in a row, tops level. The simplest set to hang: one line, two gaps. Hang 2, then 1 and 3. Center first. Outer pair next.
Download the 3 Horizontal hanging guide (PDF, six pages) or shop 3 Horizontal.
Four equal panels in a row, tops level. Start at the center gap so the set centers on the wall, not on a panel. Hang 2 and 3, then 1 and 4. Center pair first. Outer pair next.
Download the 4 Horizontal hanging guide (PDF, six pages) or shop 4 Horizontal.
Five equal panels in a row, tops level. The widest look for the least wall height. Hang 3, then 2 and 4, then 1 and 5. Center first. Adjacent pair next. Outer pair last.
Download the 5 Horizontal hanging guide (PDF, six pages) or shop 5 Horizontal.
The two inner panels are full height and the outer two are shorter, hung at different drops, so the set steps across the wall. The drops are printed per size. Hang 2, then 3, then 1 and 4. First. Next. Outer pair.
Download the 4 Pop hanging guide (PDF, six pages) or shop 4 Pop.
The center panel is tallest and the other four are one height, hung at staggered drops. Taller than 5 Star at the same width. Hang 3, then 2 and 4, then 1 and 5. Center. Adjacent. Outer.
Download the 5 Pop hanging guide (PDF, six pages) or shop 5 Pop.
Five panels that step shorter from the center outward, so the outline peaks. The widest set we make, and the one with the most drops to get right. Hang 3, then 2 and 4, then 1 and 5. Center. Adjacent. Outer.
Download the 5 Star hanging guide (PDF, six pages) or shop 5 Star.
Four square panels in a two by two grid. The one layout that hangs on a one inch gap, in both directions. Level the top row, then hang the bottom row off it. Hang 1 and 2, then 3 and 4. Top row first. Bottom row next.
Download the 4 Square hanging guide (PDF, six pages) or shop 4 Square.
Three square panels across a long, low wall: above a headboard, a counter or a sideboard. Start with panel 2 so the set centers where you marked. Hang 2, then 1 and 3. Center first. Outer pair next.
Download the 3 Piece Panoramic hanging guide (PDF, six pages) or shop 3 Piece Panoramic.
Three equal panels stacked one above the other with half inch gaps. Hang the middle panel first at eye height, then the top and bottom panels off it. Shop 3 Vertical.
One canvas. Center it 57 to 60 inches from the floor, or 6 to 8 inches above the furniture beneath it, and hang from the pre-installed sawtooth hanger. Shop 1 Piece.
One tall canvas for a narrow wall. Same rule: center at 57 to 60 inches, with the bottom edge 6 to 8 inches above any furniture. Shop 1 Vertical.
One long, low canvas. Center it on the headboard or sideboard beneath it, 6 to 8 inches above the top edge. Shop 1 Piece Panoramic.
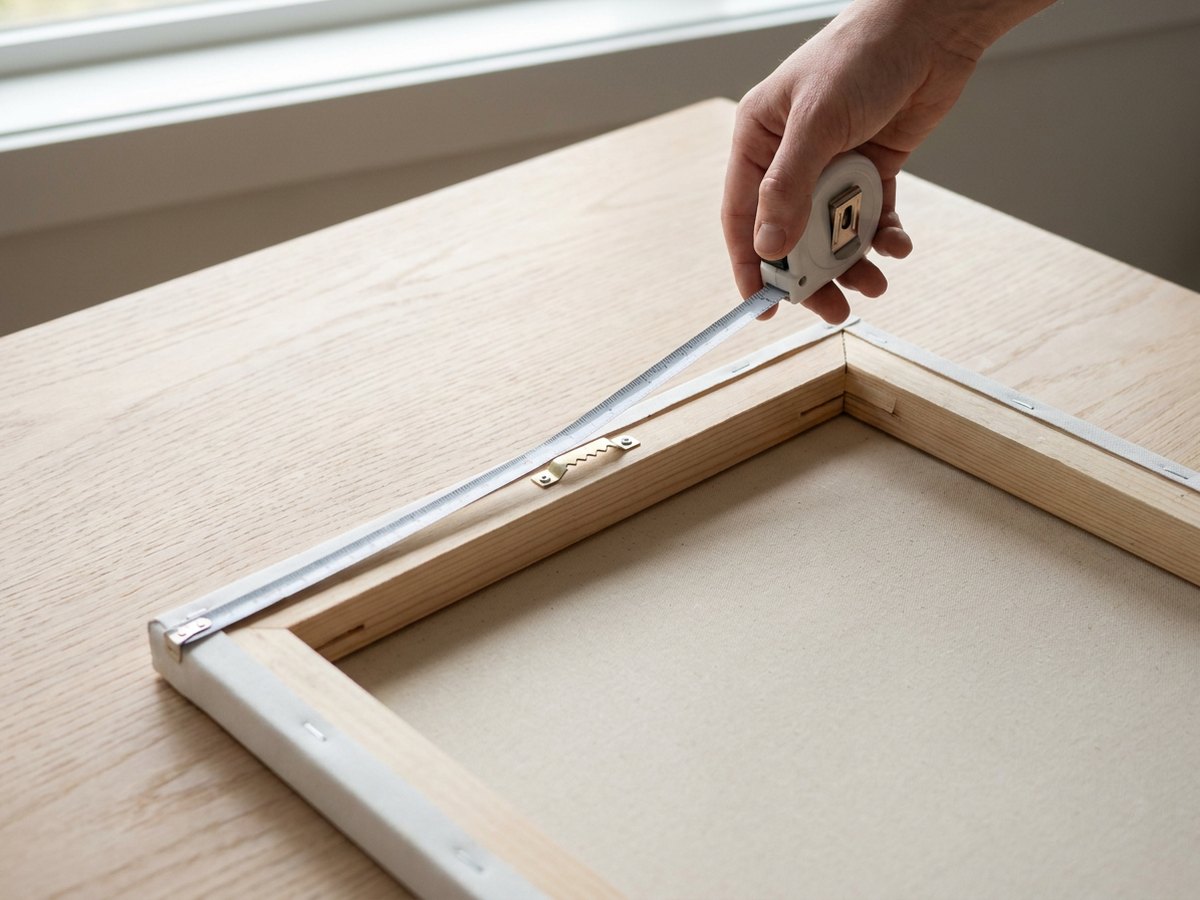
Every panel arrives with a pre-installed sawtooth hanger, so the only decision is what goes into the wall. Match the fastener to the wall, not to the picture.
Half an inch. Every Tiaracle multi panel layout is designed around a half inch gap between panels, and the overall size on the product page is calculated on that gap. The one exception is 4 Square, which hangs on a one inch gap. The printed guide includes a half inch strip to cut out and use as a spacer.
The center panel. On a five panel set hang panel 3, then panels 2 and 4, then 1 and 5. On a four panel row hang the inner pair, then the outer pair; on 4 Pop hang panel 2, then 3, then the outer pair. On 4 Square hang the top row, then the bottom row. Working outward from the center keeps any small error at the edges.
With the center of the whole set 57 to 60 inches from the floor, which is eye height. Above a sofa, bed or console, the bottom edge sits 6 to 8 inches above the furniture instead, and that rule wins. Measure the set's overall height from the guide, not the tallest panel.
No. Each panel is a separate stretched canvas with its own sawtooth hanger, and each is hung on its own fastener. The printed guide gives the hanger position for every panel so the gaps and drops come out right. The set is not joined at the back.
Yes. Every layout comes in three sizes and the panel drops change with the size, so each guide carries six pages: two for small, two for medium, two for large. Print the pair for your size, check the two inch calibration line with a ruler, and use only those measurements.
Each panel arrives ready to hang with a pre-installed sawtooth hanger, and the set ships with hanging instructions and white pins. Wall anchors depend on your wall type, so they are not included; the fastener table above says what to use.
Before you hang, choose: The Size Guide, Wall Art by Layout, Multi Panel Wall Art.